Painting wood furniture will breathe new life into your furniture! Painting wood furniture with Pure & Original paint will give your newly refinished furniture a lovely buttery smooth finish. It's so gorgeous and I'm going to show you why!
You've decided to paint an old piece of furniture.
You know exactly which piece of furniture you'd like to revamp but you're not exactly sure how to paint your furniture?
Or maybe you're searching the internet or browsing Pinterest to get some advice on the best places to find used furniture and gather some furniture painting inspiration before you get started.
Whatever the reason, we're sure glad that you're here! This painting furniture tutorial will hopefully answer some of your questions and inspire YOU to try something new!

Disclaimer: Pure & Original provided the products used to complete this labor of love. I supplied the elbow grease, rescued furniture, design concepts and opinions! All of which reflect my own point of view, regardless of affiliation. This post may contain affiliate links to products that I love and use every day. This means that I receive a small commission for purchases that are made through these links. Please read our full disclosure for more info.
HOW TO PAINT WOOD FURNITURE WITH PURE & ORIGINAL PAINT
In this post, we're going to share with you how to paint an old dresser using Pure & Original Classico chalk-based paint.
When you're finished reading this, you'll be armed with some step by step instructions on how to paint your own furniture using this amazing chalk based paint!

Painting Wood Furniture Supplies
Pure & Original Classico Chalk Based Paint
Paint Brushes
Sandpaper
Tac cloth
Murphy's Oil Soap
Top Coat
HOW DO I PREP MY FURNITURE FOR PAINT?
#1 Remove hardware & clean your furniture before you paint.
All furniture needs a cleaning. Some furniture might just need a simple wipe down, others will need a scrub- and you'll know which ones need the scrub!
I like to use Murphy's Oil Soap for light furniture cleanings and TSP for those really filthy ones.
#2 Assess Your Piece of Furniture.
Does your piece of furniture have any unwanted holes, gouges, dents or dings? If you have holes, dents or dings in the piece you are painting but you're looking for more of a smooth finish, this is the time to take care of those.
For minor repairs, I like to use DAP Wood Filler and this scraper tool to fill in those blemishes.
For larger repair areas, I always turn to Bondo for deep gouges and major repairs. If you've never used Bondo before, here's a short video tutorial that shows you how to use it.
If you want to embrace the natural wear and tear that already exists on your furniture, you can leave some of the dings and small dents and use those to your advantage when you go to naturally distress your furniture piece.
I embraced the natural worn look for this buffet makeover and loved how it turned out!

Do I NEED TO SAND OR PRIME MY FURNITURE BEFORE I PAINT?
#3 How do I know if I need to sand or prime my furniture?
In all my years of refinishing furniture, this is what I've come to know.
While there are some furniture pieces that you can apply your chalk based paint to right after it's been cleaned and dried, there will be instances when you will want to sand, degloss and/or use a primer before you paint your furniture. (If you're using a latex based paint, always sand and prime first.)
Vacuum and use a tac cloth to easily collect all of the sanding residues once you're finished sanding.
WHEN TO SAND FURNITURE:
- If there's damage or chipping to the wood furniture. If you try and paint over those areas without sanding first, your new paint will chip off.
- If the surface top has scratches in it.
- If I've applied wood filler.
- If the furniture piece has a really glossy finish. Lightly sanding your furniture with medium-grit sandpaper will help reduce the sheen and give your paint something to grab onto.
If your furniture piece already has a dull surface, Pure & Original Classico Chalk Based Paint can be applied directly to the freshly cleaned & dried furniture and you can skip the sanding step!
WHEN TO PRIME FURNITURE:
- I use primer when I select a paint color that is a lot lighter than the original wood color. (This saves me money because I don't have to use as much Pure & Original paint.)
- If I'm painting over a stain or wood with red undertones. The tannin in dark or red toned furniture can cause bleed through.
- If I'm painting a piece of furniture with a strong odor. Applying a primer or a shellac to your smelly furniture will help reduce the smell dramatically!

Pure & Original Paint Colors
#4 What kind of paint to use on wood furniture?
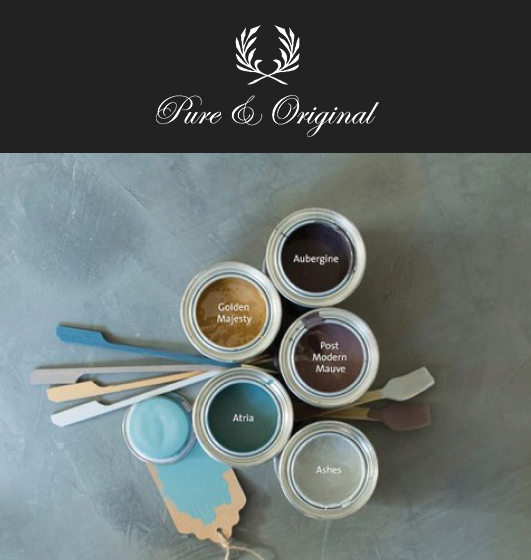
If you haven't been introduced to Pure & Original's Classico paint colors yet, jump right here and take a peek at them. It's a must!
Pure & Original has such an amazing color palette.. there are so many pretty chalk-based paints to choose from, you're really going to fall in love!
One of the reasons I love to paint furniture with Pure & Original paint is because it leaves my furniture with such a buttery smooth finish.
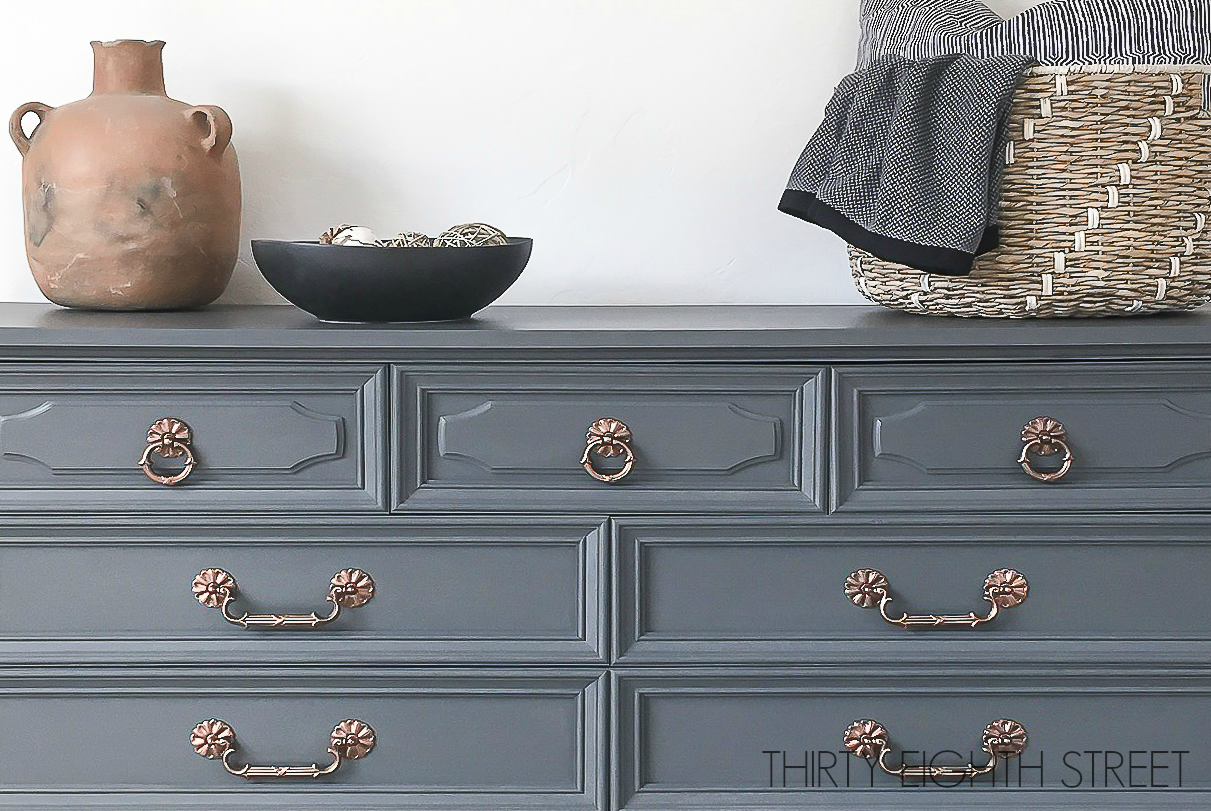
We recently cleaned, prepped and painted this 7 drawer Dixie dresser with Pure & Original Classico paint in Earth Stone.
You can see very few brush marks showing on this hand painted dresser. I attribute a lot of that to the quality of their paint!
You can see it again here in these chalk painted nightstands I revamped using this gorgeous deep green hue from Pure & Original.


FURNITURE PAINTING TIPS
#5 Painting Furniture Instructions
Now that my dresser is cleaned and prepped, I'm ready to apply my paint! Here's my process for painting a dresser:
- I like to start by elevating put my dressers up off the floor. I use scrap wood blocks, old cans of paint, etc. This ensures that I can see every inch of the bottom/feet of my dresser and I find that the added height makes it more comfortable for me to paint. If you'd like to elevate your dresser be sure to choose something that's solid and the same height, you can use whatever you want! Just know- paint will get on it. ;)
- Next, I take out all of the drawers and label them. I like to use a pencil and write the position number on the bottom of each drawer. I have found that for some dressers it really doesn't matter which order you put the drawers back in and for others, it can quickly become an oversized puzzle. Old dressers can be finicky! Labeling solves that problem!
- I usually start by painting the dresser base first. While that's drying, I move to the dresser drawers. I try not to load my paintbrush too heavy when painting the drawer fronts and I always double/triple check for drips before moving onto the next drawer.
After two coats of Pure & Original Classico paint, I had the desired coverage that I was looking for. I waited 24 hours before applying my top coat.
Pure & Original offers Dead Flat Ecosealer and Italian Wax to two great top coat options!
Because the tops of dressers get things set down on them frequently, I like to apply a few protective coats to that area. (Wait the desired wait time between each application per the product directions.)
We paired Earth Stone Classico paint with this gorgeous copper hardware. The hardware was original to the dresser but the copper color wasn't! We updated the hardware using this!


Isn't paint magical? One day you're looking at an outdated and ugly dresser and on another day, you've transformed it into something absolutely beautiful.
I hope this tutorial has been helpful for you! If you have any questions about how to paint wood furniture, please leave a comment and let me know.
If you enjoyed this article, please share it on Pinterest or Facebook. (This lets us know what kind of helpful resources and DIY furniture makeovers you'd like us to see in the future!)
RELATED PAINTING WOOD FURNITURE POSTS:
- Remove Peeling and Chipping Veneer With This Easy Trick!
- How To Convert A Dresser Into A Media Cabinet
- How To Layer Chalk Paint®
- The BIG Secret To Distressing Furniture Naturally
- How I Turned Craigslist Furniture Into A Statement Piece
You can explore our FREE Library of Furniture Tutorials here.
If you're not a subscriber yet, but you'd like to receive additional DIY, Furniture Painting Refinishing Tips & Tricks, sign up here to receive EXTRA furniture refinishing advice not found on our blog!
Take Care!
Carrie || Thirty Eighth Street


Stunning piece and I love the copper hardware!
ReplyDeleteThanks for sharing 😀
Thank you, Cornelia! Copper is quickly becoming a new favorite!
Delete
ReplyDeleteThat EarthStone color is scrumptious! You've got me looking around my house to see what I can paint that color! Thanks for the info on P&O...wasn't familiar with them before.
Have a great day.
Lynn
Isn't it such a great shade of grey!? You're going to fall in love with Pure & Original paint, Lynn! It really is fantastic! It makes the furniture painter look like a pro! :)
DeleteLove this project! We are going to try and recreate it! Two questions, how much paint did you need for the whole dresser? Is 1 liter enough? And for the drawer pulls, how do you use that cool patina paint? Did you use their metal primer and their patina spray as well? Thank you for sharing!
ReplyDeleteHi Stephanie! 1 liter is plenty!! I used half a can of paint for this dresser so you'll have some left over for another project! I used the Copper patina paint to refresh the hardware. I didn't use the metal primer or patina spray. You only need to use the metal primer when you're using the patina spray. I linked to both products in my post. Hope that helps! If you have anymore questions, ask away! Take Care! Carrie
DeleteCurious which Pure & Original top coat did you use on this makeover; Dead Flat Ecosealer or the Italian Wax?
ReplyDeleteI used Dead Flat Ecosealer for the top coat. You can find it here!: https://rbeemster.postaffiliatepro.com/scripts/uuol1c?a_aid=39
DeleteCan you tell me what name is that grey please
ReplyDelete